
Learn how to register your domain to create your own website in Hostinger platform
In this blog, you will learn about domain registration for web hosting in Hostinger platform.
Define the goal of your website.
Choose a domain name, preferably related to the goal of your website.
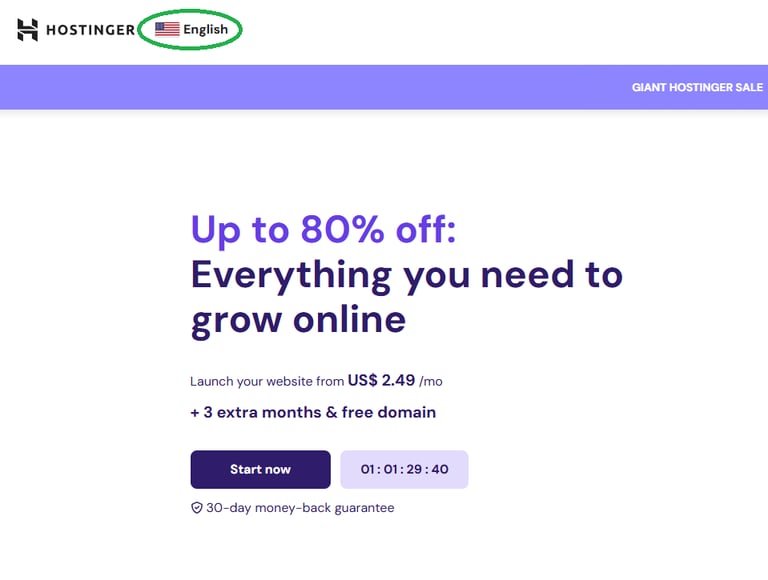
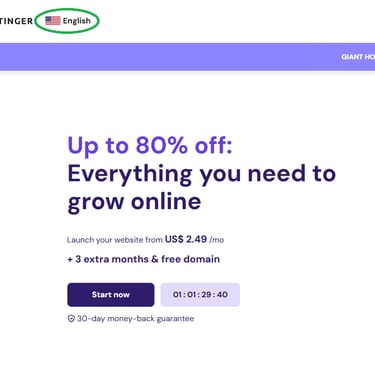
Type www.hostinger.com in the address bar of your web browser.
The website opens. Click on English on the top left corner as shown in the figure below and choose the country you live in.
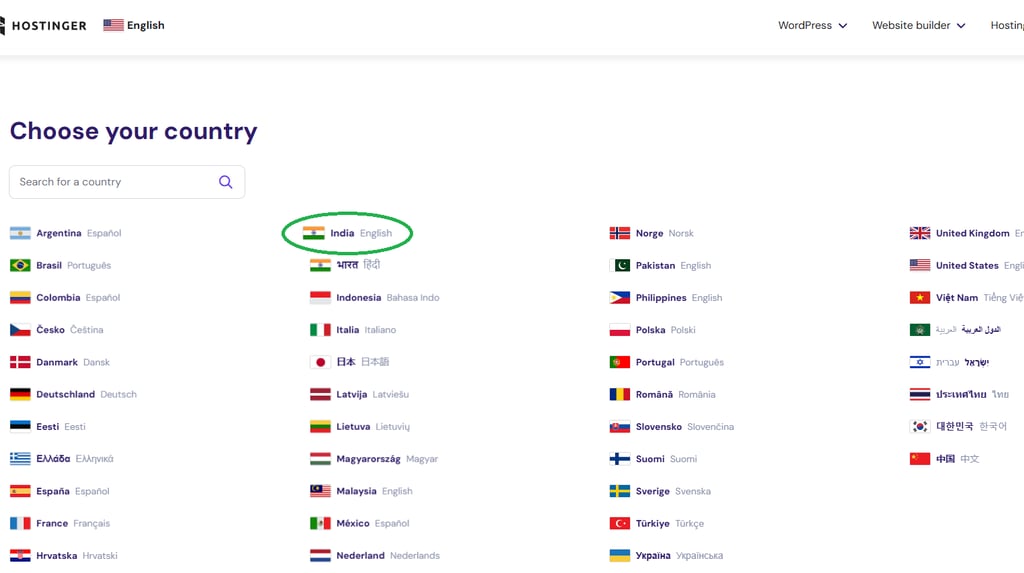
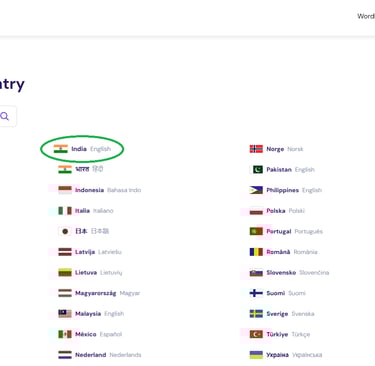
A window appears. Click on the country and preferred language as shown in the figure below.
You will be directed to the website in your chosen language.
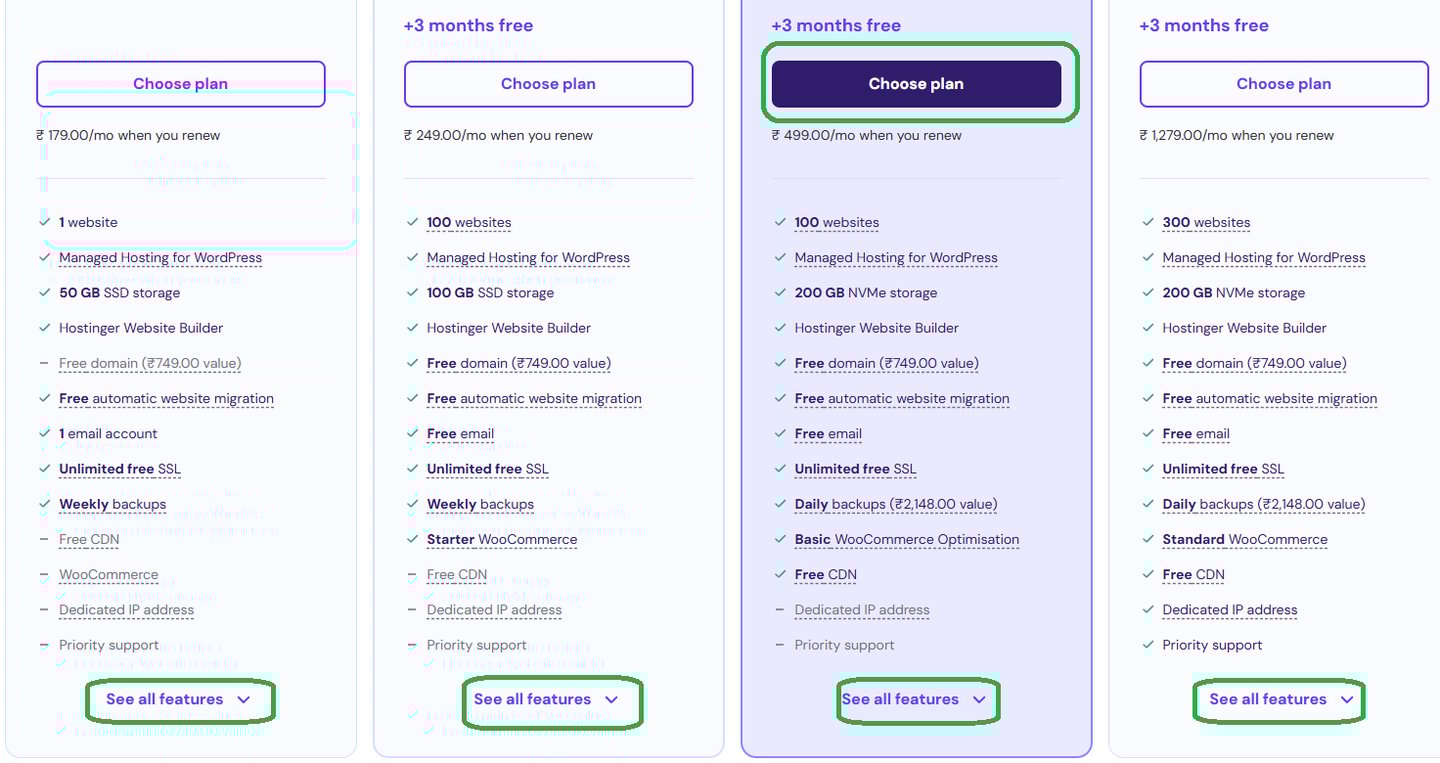
From the homepage choose a plan according to your requirement. There are four plans available for my chosen country and language (India English).
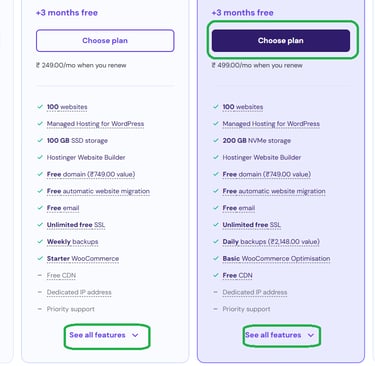
Scroll down and click on See all features for each plan.
Read the features of each plan and choose.
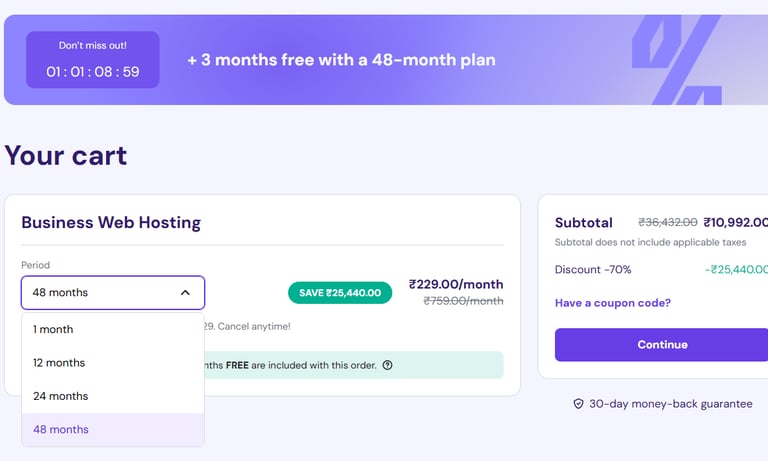
You will be directed to Your cart page.
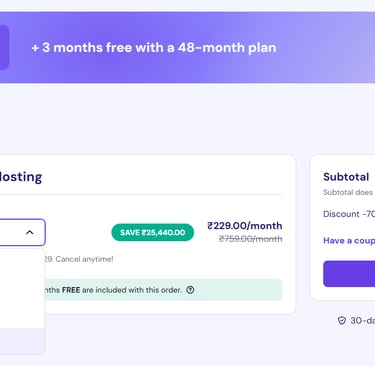
Choose the time period for which you want to host your website.
Click continue.
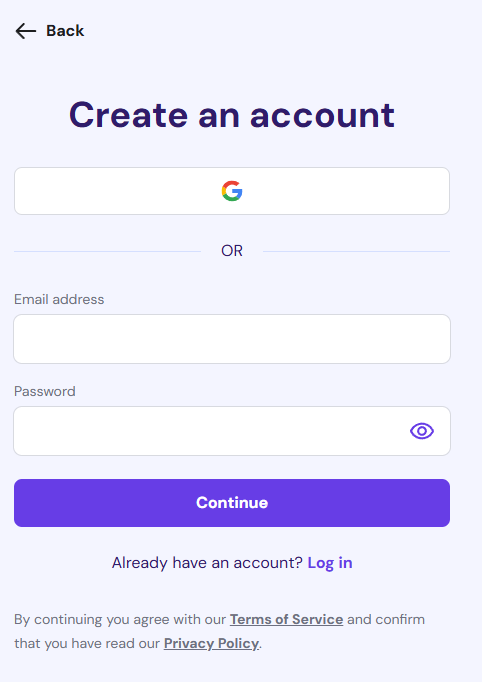
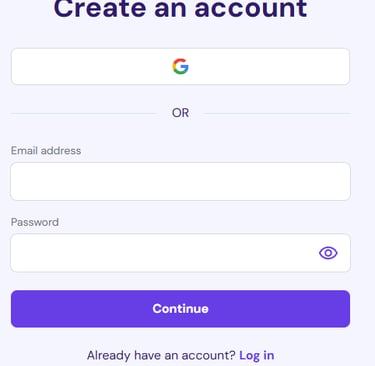
You will be directed to a page Create an account as shown
below.
If you already have an account in Hostinger, click on Log in.
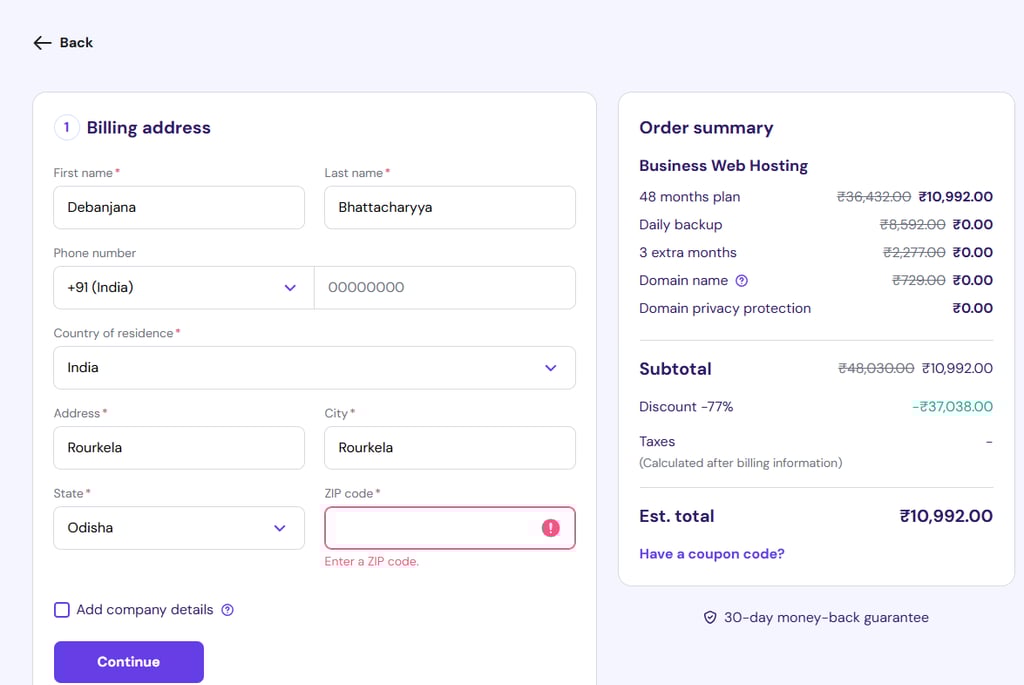
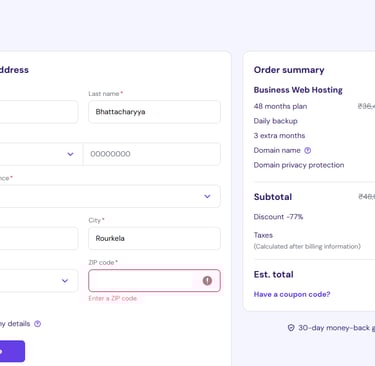
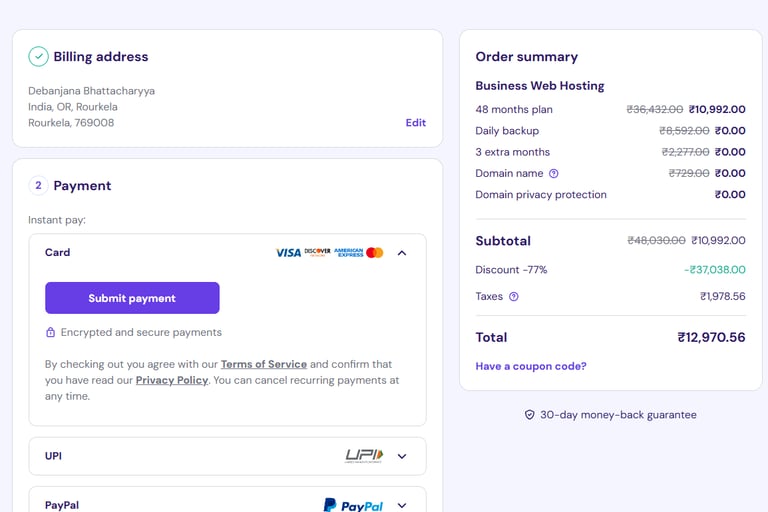
You will be directed to the Billing Address page.
Fill up the form and click Continue.
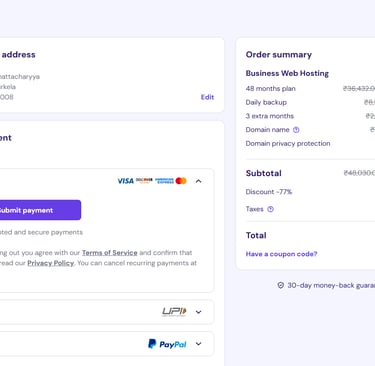
You will be directed to the payment page to submit the online payment as shown below.
As soon as your payment is over and it is received by Hostinger you will receive an acknowledgement email.
You will be asked to select your domain name. Select your domain name and complete the registration process.
© 2024. All rights reserved.